
If you want to build a strong online brand, you need to get even the tiniest elements right. Today, ranking high in search engine results or attracting plenty of referral traffic is just one piece of the puzzle. On top of that, you need your audience to remember and recognize your brand any time they come across it. This includes having your website open in their web browser or saved as a bookmark. And one of such small elements that can help you with that is a WordPress favicon.
Table of Contents:
1. What Is a WordPress Favicon?
2. Why Your WordPress Website Needs a Favicon
3. WordPress Favicon Best Practices
Use the Right File Extension and Dimensions
Make It Load Blazing Fast
Ensure It Aligns with Your Brand
Keep Things Simple!
4. How to Add or Change WordPress Favicon
Adding WordPress Favicon via WordPress Dashboard
Uploading WordPress Favicon Manually
Adding WordPress Favicon Using a Plugin
Heroic Favicon Generator
Multicons [ Multiple Favicons ] By Doc4
Favicon by RealFaviconGenerator
5. Time to Add a Favicon to Your Site
1. What Is a WordPress Favicon?
You may not realize it but you look at (and click) favicons every day. A WordPress favicon is a little image that appears next to the site’s name in the browser tab.
Often, it’s similar to or identical to your brand’s logo – or consists of one of its elements. In the case of WP Blazer, our favicon is the same as the graphic element in our logo:

While it’s quite small (all you see is a small image), it’s an important element of every website – here’s why.
2. Why Your WordPress Website Needs a Favicon
Your logo is the most important brand elements. Reusing it as your favicon helps keep your branding consistent. On top of that, it helps the user recognize your website whenever they open way too many tabs in their web browser. Which, let’s be honest, happens quite often.
As you open more tabs, they all start to get squeezed. Soon, you no longer see the site name. Instead, all you get is a small image – a favicon. Thankfully, a favicon helps your visitors recognize your website and get back to it. This helps improve their experience and increases the chance that they’ll get back to your site. Not to mention that using a favicon improves brand recognizability. Can you recognize the below websites by looking at their favicons?

Of course, the favicon doesn’t just help people get back to your website when they open too many tabs. First, it also appears in the bookmarks. This helps people spot your website when they’re browsing through dozens (if only!) bookmarks most of us have in our web browsers. Moreover, a favicon is often all we get on our mobile browser home screen.
Lastly, a favicon is not only about click-throughs to your website. A WordPress favicon makes your website appear more professional and credible. Often, that credibility can be the decisive factor in someone’s buying decision.
3. WordPress Favicon Best Practices
Before we add a favicon to your website, let’s look at some of WordPress favicon best practices.
Use the Right File Extension and Dimensions
First, the technical stuff – let’s start with the file extension. Most of the images that we use on our websites are either .png or .jpg. Sometimes, we’ll also throw in a gif or two into a blog post. But, when it comes to favicons, they’re not the only ones. Typically, you can create a favicon using.svg, .ico, as well as the aforementioned .png. But which one is the best format to choose? Well, it depends.
One of the things that choice will depend on is the way you upload your favicon to your website. If you’re using WordPress 4.3 or later, you can add a favicon using the theme customization menu. In this case, any square .png image that’s at least 512 x 512px in size will work just fine. Of course, by “any” we mean one that you want to use as your favicon. And how come you can use a 512 x 512px image for a favicon that looks tiny in the browsers?
Technically, WordPress won’t be using that particular file as your favicon. Instead, it’ll take the image and create a separate small favicon out of it. It'll then load that new image whenever someone visits your website. That way you don’t have to play with editing super-small images or worrying that your favicon is too big.
Of course, you still can configure WordPress favicon manually. The problem is, if you do that, you’ll usually need to create a 16x16 .ico file. This can be avoided (you can even use .svg files). But, it requires some extra tinkering with your website – which is beyond the scope of this article.
Make It Load Blazing Fast
Compared to all the other website elements, a WordPress favicon is a really tiny one. However, if you have thousands of visitors, even the tiniest site speed delays add up. While they’re not that likely to happen because of a favicon, consider using a WordPress CDN. That way, you can ensure your favicon (and all other images) load equally fast for all visitors.
The added benefit of using a CDN is that it can give your website a huge speed boost. This is especially beneficial for websites that are image-heavy. And, let’s not forget that website speed is one of the core SEO ranking factors. To check how well your site is SEO-optimized, check out WP Blazer’s SEO Tools & Audits feature.
Ensure It Aligns with Your Brand
Of course, even the fastest favicon will be of no benefit if it doesn’t align with your brand. The good news is, the best favicons are often the easiest to create. Why? That’s because they’re made up of a smaller logo – or a part of it. By creating a favicon that resembles your logo, you don’t have to waste time coming up with new ideas. Plus, you keep the new WordPress favicon aligned with your brand.
Keep Things Simple!
Even though there are a few big benefits to using a favicon, it’s best to keep it simple. When planning your WordPress favicon, avoid overthinking not to let analysis-paralysis creep in. A simple image on a transparent background (unless your image is a square) is all you need.
And, most importantly – once you make a decision, don’t keep changing your mind. The main role of your favicon is to help users recognize it when they see it in their web browsers. If you keep changing it, they might get confused. This, in turn, could make it hard for them to find the tab with your website.
4. How to Add or Change WordPress Favicon
Not that long ago, if you wanted to add a WordPress favicon to your website, you had two ways to go about it. First, you could hope that your theme had the option to add it in theme settings. As an alternative, you could do that via FTP. If you chose the latter, you then had to link to the favicon in the theme files.
Thankfully, since the release of WordPress 4.3, adding a WordPress favicon to your website is as easy as 1-2-3. And it’s not an exaggeration. The whole process takes just a few steps.
Adding WordPress Favicon via WordPress Dashboard
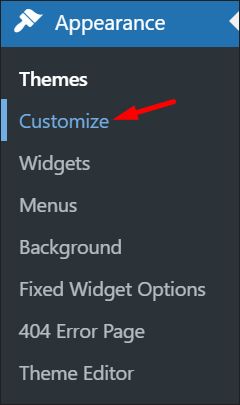
To do that, head over to your WordPress dashboard and choose Appearance. Once there, click Customize to go to your website customization settings.
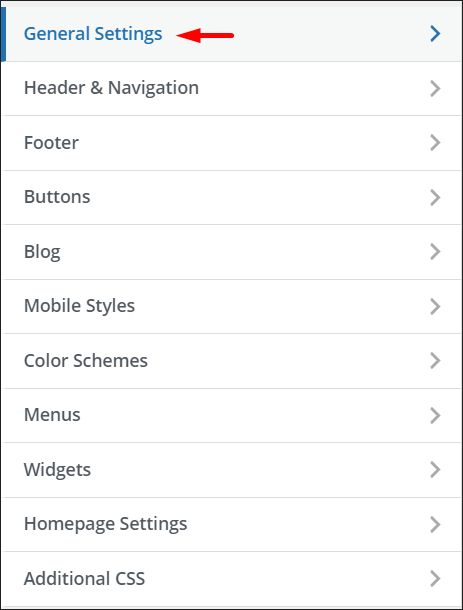
In the menu that appears, select General Settings:
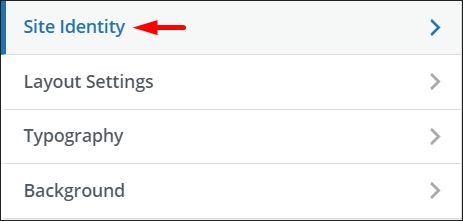
Next, select Site Identity. As mentioned earlier, a favicon is an important element of your brand identity. It’s no surprise it’s treated as such even by WordPress developers.
Depending on whether your website already has a favicon, you will be able to either change it or add a new one. In our case, the favicon was already there. Click Remove to delete the existing WordPress favicon or Change Image to switch it with a new one.
You’ll then be able to select an image from Media Library or upload a new one. Again, WordPress will remind you about the recommended dimensions of 512 x 512px. Thankfully, you don’t have to prepare the .ico file yourself!
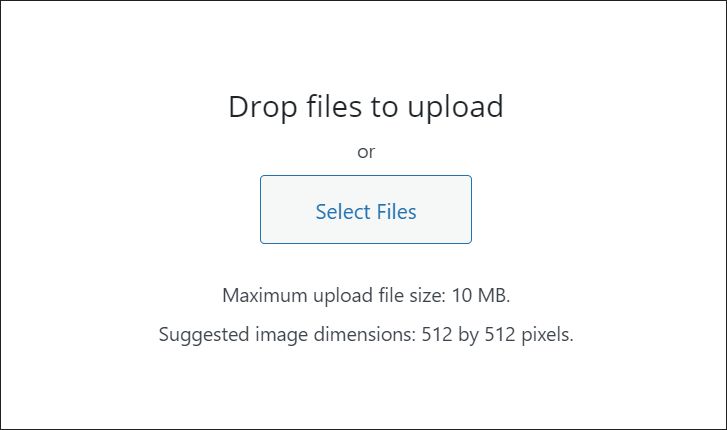
Once you upload the favicon to the website, hit Publish at the top of the customization settings menu:
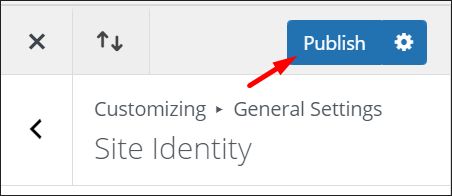
And you’re done… that’s unless you’re using caching! If you don’t – you should see a WordPress favicon appear in the browser tab (hit Ctrl + F5 if you don’t). However, if you’re using WordPress caching plugins, you most likely have to purge the cache first. Of course, if you’re using external caching – you have to clear that cache too.
Uploading WordPress Favicon Manually
The following is a legacy method that’s not really recommended. Still, we discuss this for those who interested in having everything under full control. To add the favicon manually, you need to access your website via FTP. To do that, you’ll need an FTP client such as FileZilla. You can also check if your WordPress hosting control panel gives you FTP access.
Once you access your website files, head to your theme folder. If you already have a favicon that was also added via FTP, you need to find an existing .ico file and delete it. Once that’s done, you’ll need to upload the .ico file twice.
First, upload it to the theme folder – that’s the favicon that will appear in your web browser. Then, upload a copy of that file to your site’s main directory. That way, it will also display in your site’s feed too.
Once you upload the files, add (or edit – if it’s already there) the following to your header.php file:
<link rel="icon" href="https://yourdomain.com/yourfavicon.ico" type="image/x-icon" />
<link rel="shortcut icon" href="https://yourdomain.com/yourfavicon.ico" type="image/x-icon" />
Note: the code may differ depending on the image that you use (it’s possible to make it work with a .png). You may also need to specify some of the devices that you want to ensure compatibility with.
As always, we recommend doing any edits to WordPress core files using a WordPress child theme.
Adding WordPress Favicon Using a Plugin
Another alternative to method to control the favicon is to use a WordPress plugin. Why consider a plugin if you can upload a favicon right in the dashboard? Unlike the theme customization menu, a plugin can give you a lot more settings to play with. This gives you more control over how the favicon appears in different browsers.
Similarly, while many “classic” favicons are transparent, transparency is not the case for iOS. Similar rules apply to some of the older devices and browsers. Many of those issues can be avoided with the help of a plugin. But, when it comes to WordPress favicons, there aren’t many plugins to choose from. The three popular options are:
Heroic Favicon Generator
Heroic Favicon Generator is a simple plugin that generates a favicon using any image you ask it to. As such, it’s very similar to what’s already available in WordPress. So, we recommend using it only if the first method of adding a favicon fails.
Multicons [ Multiple Favicons ] By Doc4
Multicons is another plugin that allows you to create both a favicon, as well as an Apple Touch/iPhone icon. Just like Heroic Favicon Generator, It doesn’t go much beyond what’s already in WordPress. But, it can be a good backup or testing option should you experience any caching or technical issues.
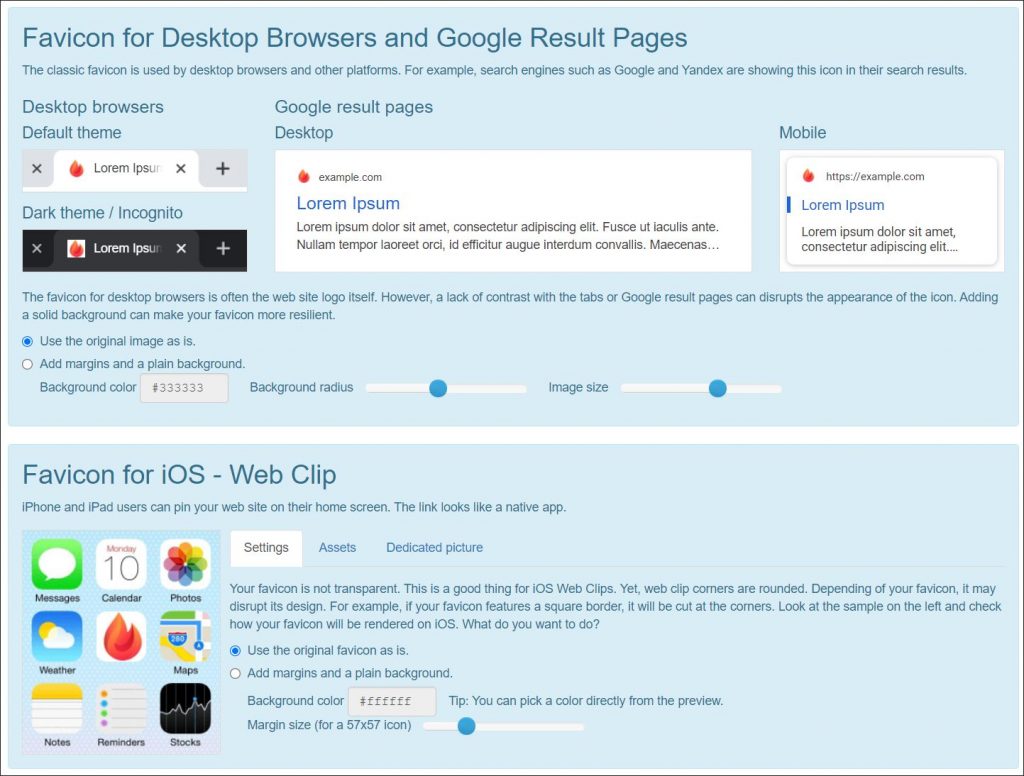
Favicon by RealFaviconGenerator
On the other hand, Favicon by RealFaviconGenerator is, well, the real deal. Just like WordPress, it allows you to use any square image for the favicon. But, after you upload the file, the plugin gives you access to some excellent favicon settings.
For example, you can configure the favicon for Desktop, as well as iOS and Android devices. The plugin creates a file compatible with IE, Chrome, Firefox, Opera, Camino, and Coast). On top of that, it allows you to edit the favicon and ensure its compatibility with Windows 8. That way, you can keep full website brand consistency no matter the browser or OS your site visitors use.
5. Time to Add a Favicon to Your Site
A WordPress favicon is an important element of every WordPress website. While small, it can have a huge impact on both your brand and website UX. Not only it helps people memorize your site’s brand. It also makes it easier for them to get back to your website, regardless of how many tabs they open in their web browser.
Additionally as a UX and branding element, it also has an impact on your SEO (however, not a direct one). Of course, there are dozens of other ranking factors that affect where your website appears in SERPS. So, while you do need a favicon, we recommend that you start taking care of them all. To get a better control and understanding of those factors, check out WP Blazer’s SEO Tools & Audits. The plugin offers plenty of other options , and a 14-day free trial to test them all.