Here’s something nobody ever said, “I wasted so much time on my WordPress backups.” Planning for a possible future disaster isn’t rocket science, nor does it take much time. Sure, the need to restore from backups doesn't come up often, but when it does, it's best to be prepared. If not, you might be in for a world of digital pain. That's why you need to know how to restore a WordPress site from backup.
How you restore your WordPress site to its current glory is very much dependent on the methods you use to create the backup files. There are many backup and restore tools on the market, and they aren't always interchangeable.
What does backup mean?
When you back up a website, you're saving two types of digital information: the content (e.g. text and image files) and the brains (i.e. MYSQL database). Sometimes, backup tools give you the option of saving both content and the database or just the content. Ideally, you want both, but file size can be a limiting factor for some hosting solutions.
Another consideration is timing. How often do you create a backup file? The correct answer depends on the frequency of content generation. If you post heaps of new content regularly, weekly or daily backups are recommended.
What about restore? To restore a site means returning it to the way it existed in your most recent backup file. That means you can only restore what has been saved. If your site crashes on November 30 and your last backup was November 1, all of your effort between those two dates is digital dust.
Types of restoring methods
Broadly, when you're learning how to restore a WordPress site from backup, there are categories of options. The best option for you depends on budget and how you created the backup files.
Hosting provider
Some hosting companies, like Kinsta, provide an easy-to-use backup and restore the system. Typically offered as part of a premium-priced managed hosting service, the host runs daily backups and has a one-click restoration tool on the client's dashboard. If your sites are hosted by companies providing Cadillac quality services, you're covered! There's no need to learn how to restore a WordPress site from backup.
WordPress backup plugins
If you've selected a less refined hosting service, you probably need to take a proactive approach to backups and restoration. That's why you should consider plugins.
There are two types of plugins: freemium and premium. Let's look at two examples.
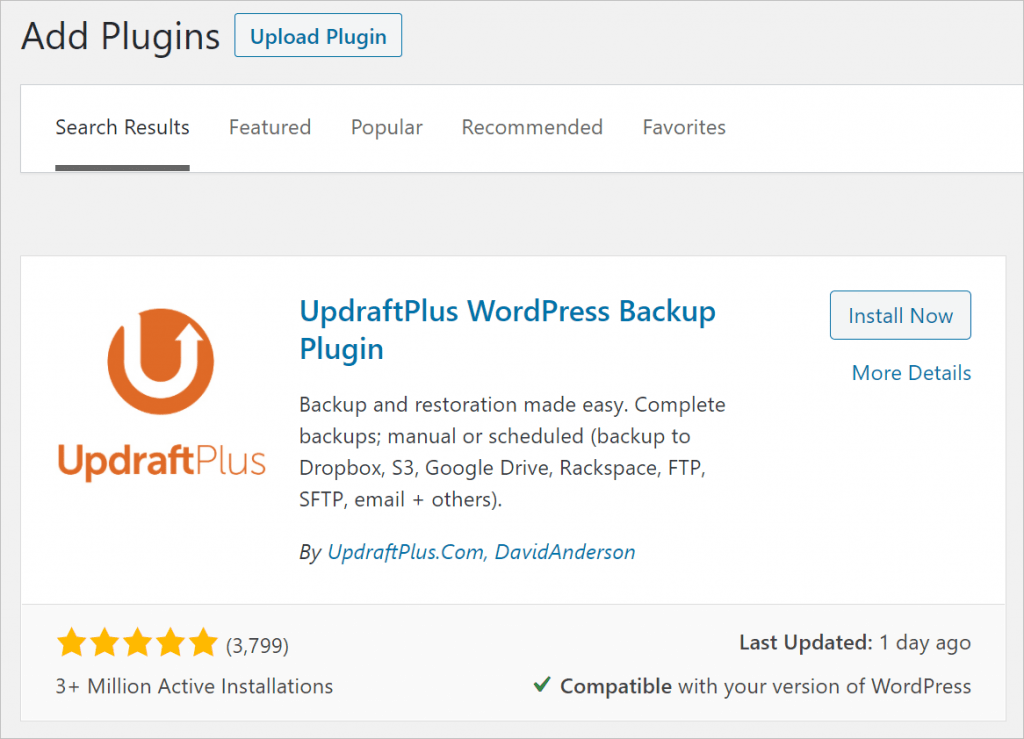
With more than three million active installations, UpdraftPlus might be the most popular WordPress backup plugin around. You can pay for extra features, but the free version provides the core services that bloggers on a budget look for.
Premium plugins, like Backup Buddy, provide an all-in-one solution. You can schedule backups and restore sites with the same tool. Backup files can be downloaded to your computer or automatically saved to a secure cloud option like DropBox.
- Tip: it's never a good idea to save the backup file on the server that hosts your website. If your site is hacked and content is deleted, you could lose the backup file, too. And then you'd be in a serious pickle.
Manual restore
Among the three restore options discussed in this article, manual restoration is the most complex. It requires a bit of technical knowledge and some familiarity with the backend of your hosting service. If you don't know what you're doing, there's an itsy bitsy chance you could cause some damage.
There are several ways to manually restore a WordPress site. Let's look at one option: FTP.
Restore through FTP
Our aim is to upload database and content backup files to the server and overwrite the files that currently sit there.
Before you start
Make sure you have an FTP client installed on your computer and it's set up to access your host's server. Popular FTP choices are Transmit for Mac and WNSCP, a free tool for Windows.
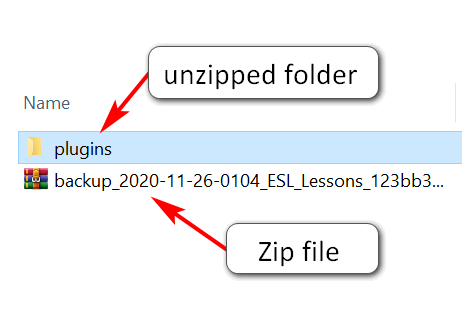
It's also a good idea to move your backup files to a single folder so that they are easy to find once you begin the restore process. You should also unzip the content files - but not the database file.
Importing database files
The first step is to restore the database.
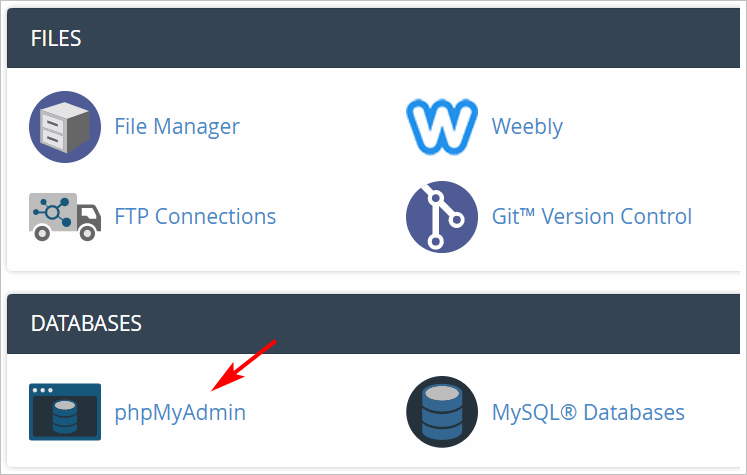
- Log in to your hosting account and open the database manager. In our cPanel example, we click pHpMyAdmin.
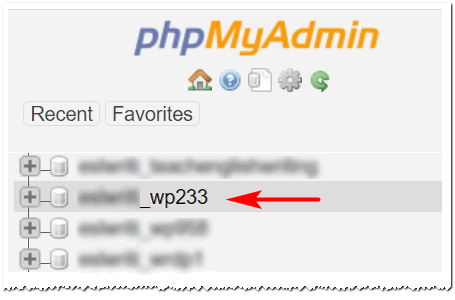
- Scroll down the list and click one time the database connected to your website.
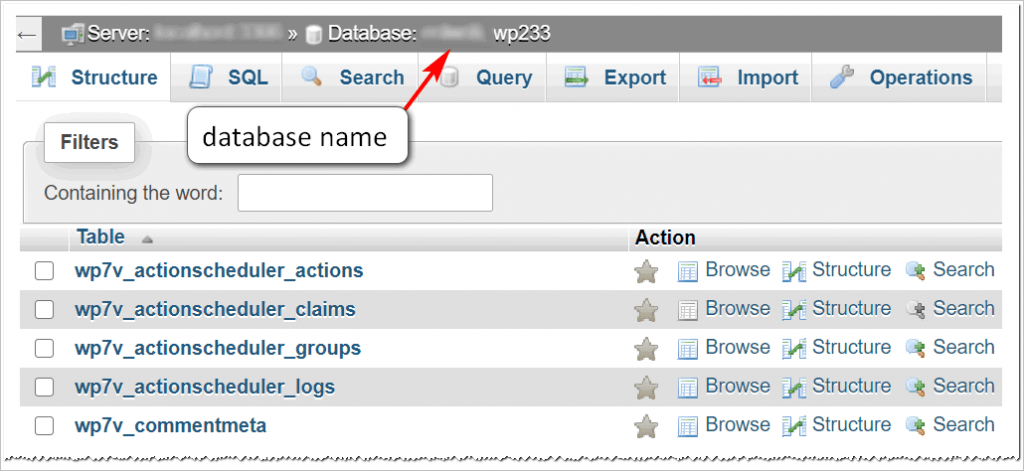
- Look at the right panel to find the folder files and database name.
- Click the Import button on the top menu.
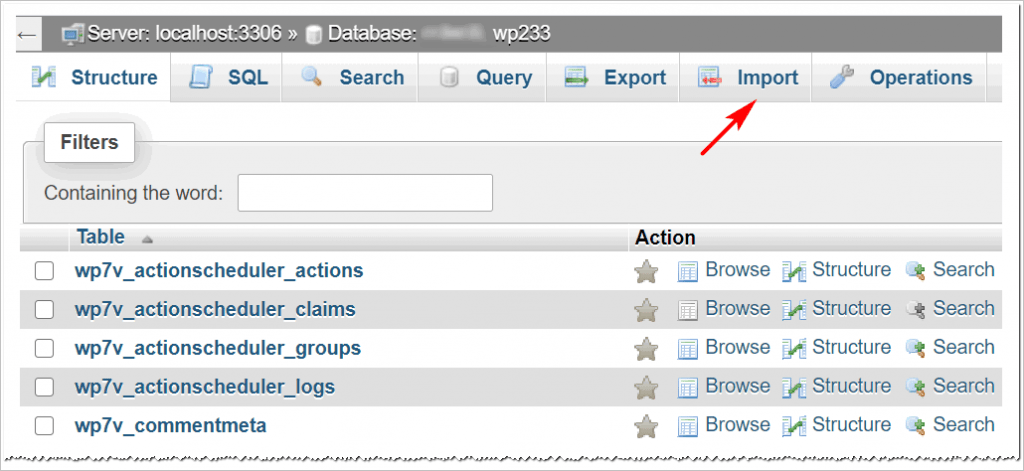
- On the File to Import page, click Choose File to upload the database file from your computer, make sure SQL is selected, and then click Go.
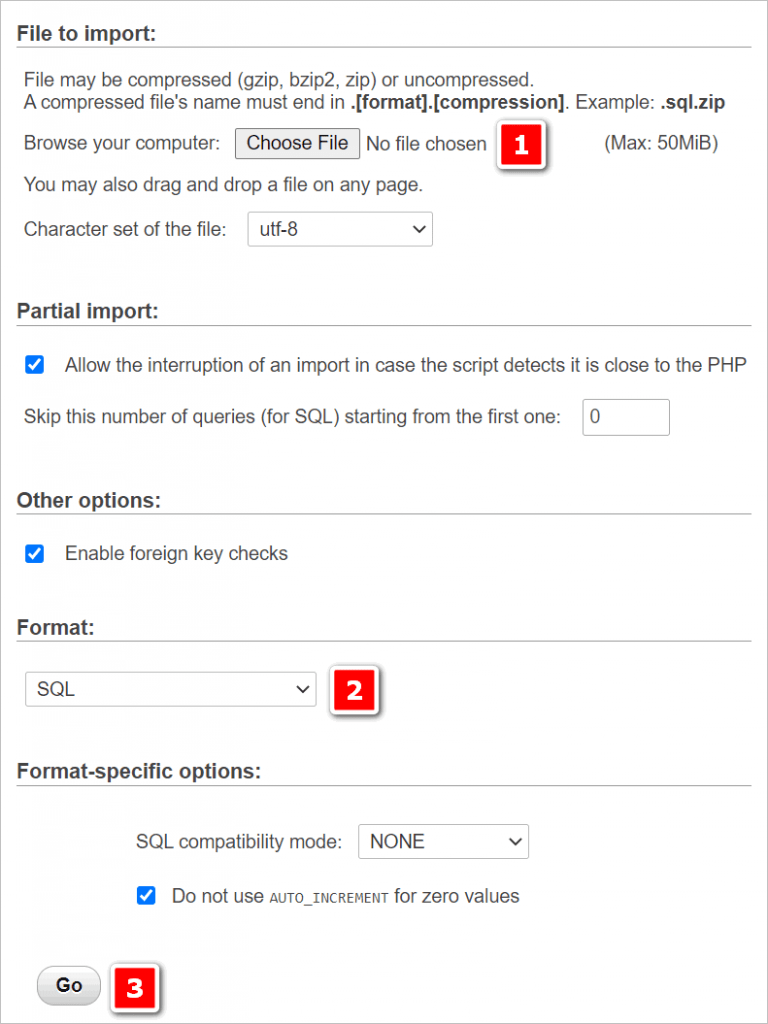
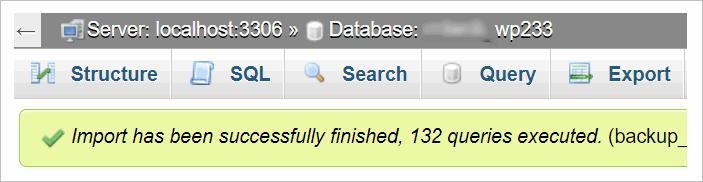
6. Wait for the server to import the backup files. Once the import finishes, this step is complete.
Uploading content files
The next step is to upload your WordPress content files with an FTP tool. In this example, we replace files in the Plugin folder. You can repeat these steps for any part of the WordPress site.
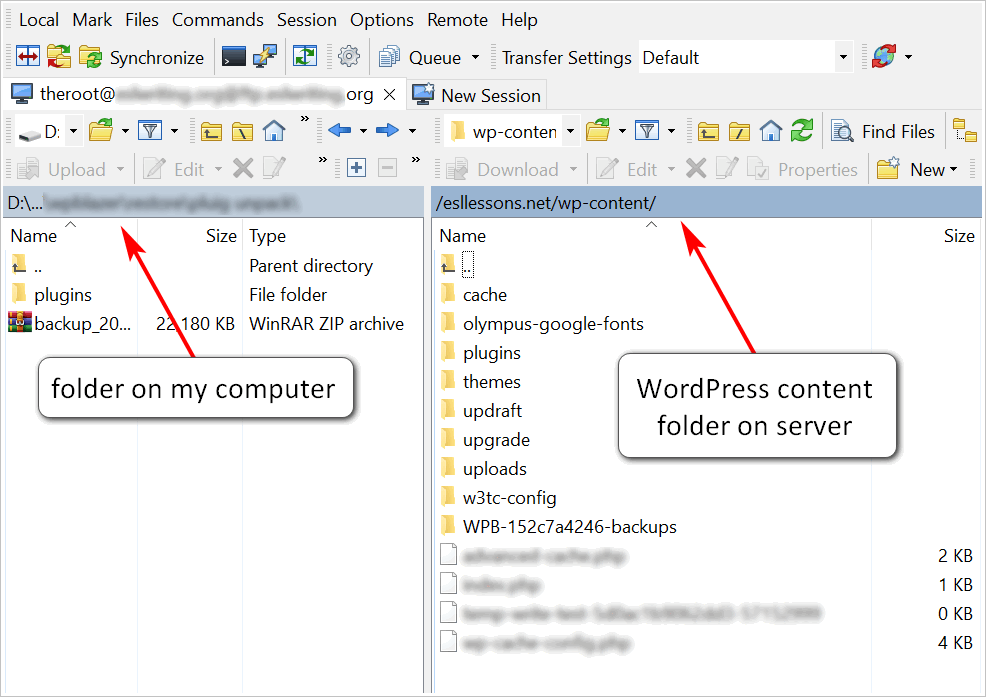
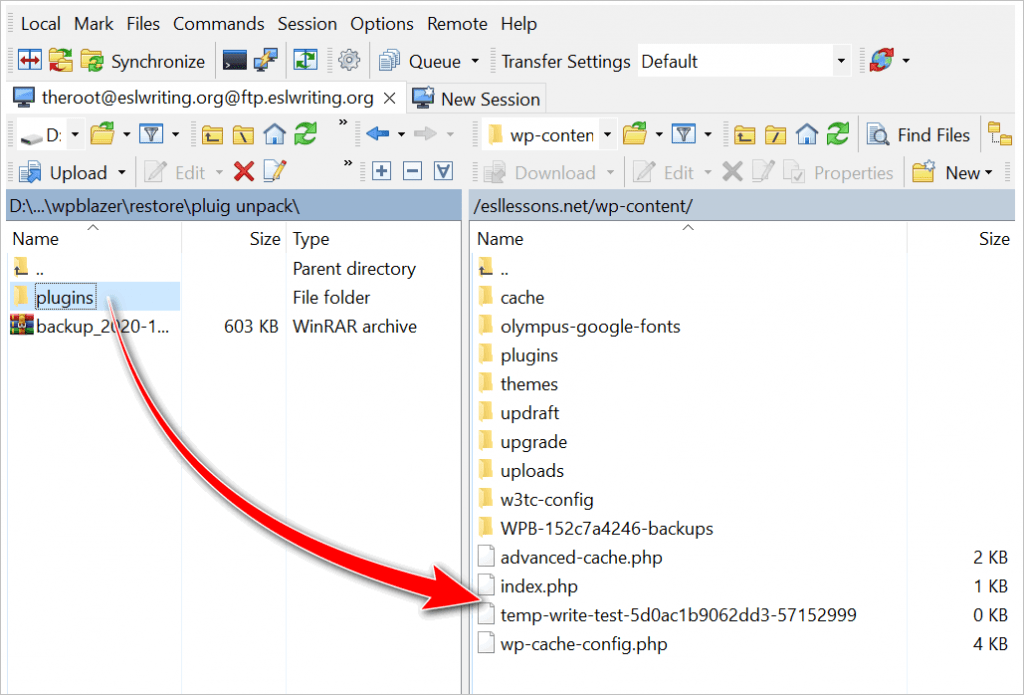
- Open the FTP client, log in with your credentials, and open the correct folders.
- The folder on your computer with the backup files should be in the left pane. The destination folder (the folder on the server that receives the backup files) should be in the right pane.
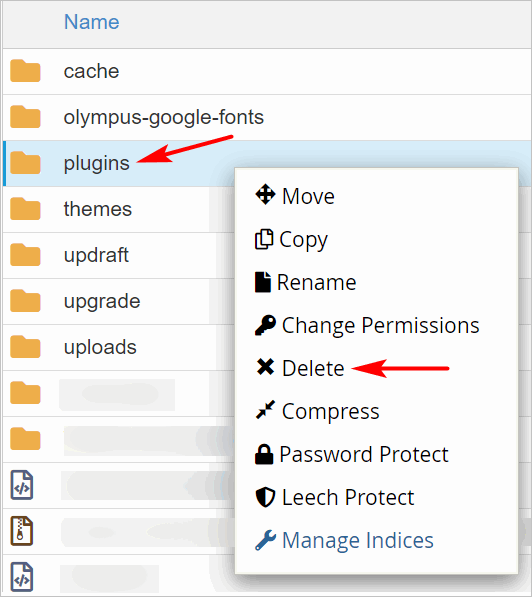
- Locate the destination folder. If your site was hacked or you had a malware problem, deleting the destination folder is optional but recommended; right-click on the folder and then select Delete. If you're restoring a site for other reasons, it's not necessary to delete the destination folder.
- Drag the restore folder from the left pane to an empty spot in the right pane. Make sure you don't drag the folder into another folder.
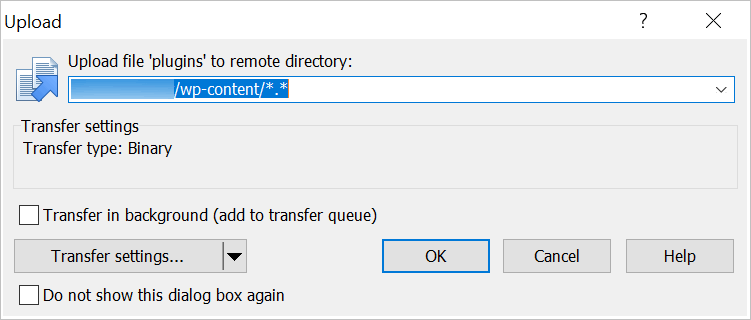
- In the Upload confirm box, check the destination folder and then click OK.
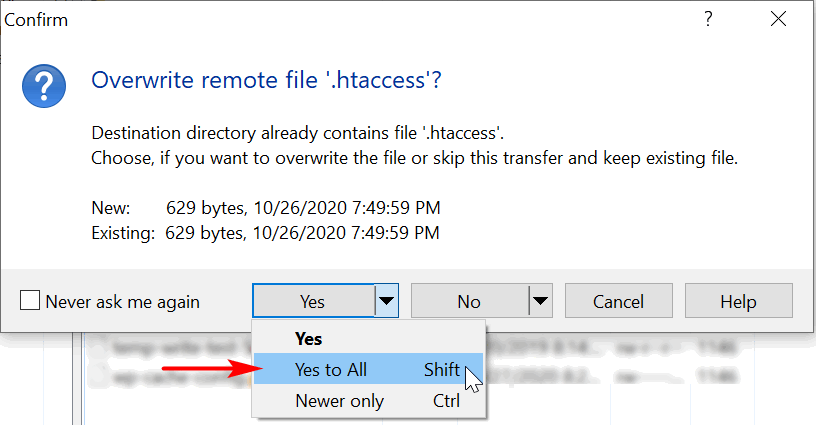
- If you're overwriting files, select Yes to All in the drop-down menu.
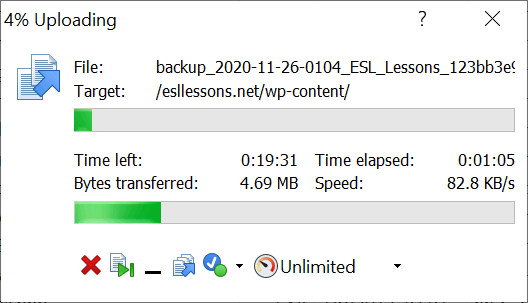
- Wait for the upload to finish. Depending on the file size, the upload could take some time.
- Repeat steps for other groups of files on the server that need to be restored.
- Go to your site and inspect the plugins, content, and links.
Troubleshooting WordPress Backup Restore Issues
Here's a sad fact. WordPress site restorations that rely on FTP uploads and plugins are not always successful. Here are two common problems and possible solutions.
Failure because of limited resources
Anyone who has used shared hosting has probably bumped into this problem. Shared hosting is a relatively cheap option because you pay for limited services. Sure the idea of unlimited storage space sounds great, but that's not the issue. Limited resources are why your annual hosting bill is so darn cheap.
That means limits on the number of files, entry processes (the number of users at any given moment), and RAM access to mention a few.
Bottom line: WordPress site restorations can be blocked by your host because you're gobbling up limited resources.
Possible Solutions
- Make sure the backup file is on a cloud or your computer (not on your hosting server)
- Break your backup into chunks (e.g. start with files and images, and then themes, and then the database)
- Compress image files to reduce data loading
Error Establishing a Database Connection
Failure to establish a connection to the database is a common error that can block your restoration efforts and cause considerable desk-pounding frustration.
Possible Solutions
- check your host because it's possible the server is down
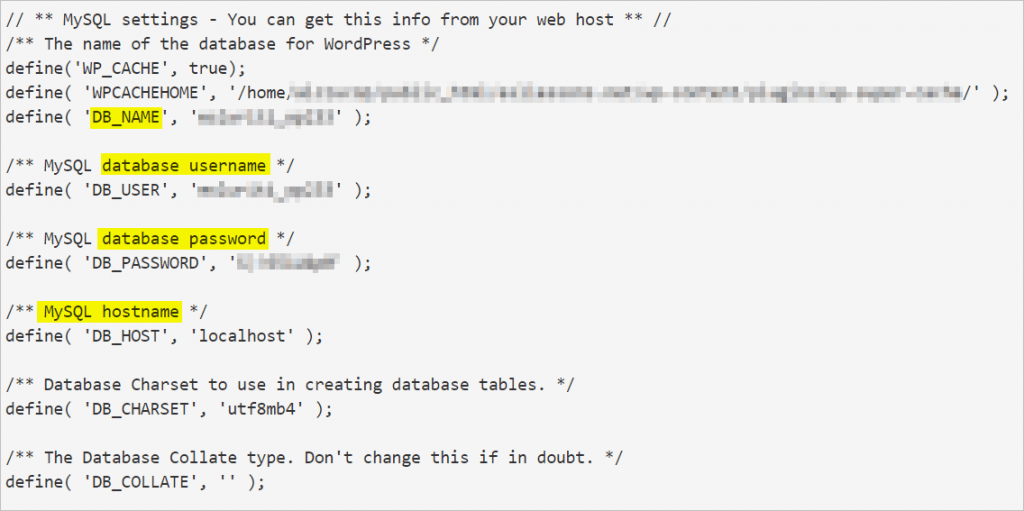
- check the credentials in the wp-config.php file
The wp-config.php file contains four key pieces of data:
- database name
- database username
- database password
- database hostname
If there is a mistake here, WordPress can't connect with the database.
To check the file:
- Go to the File Manager and open the wp-config.php file.
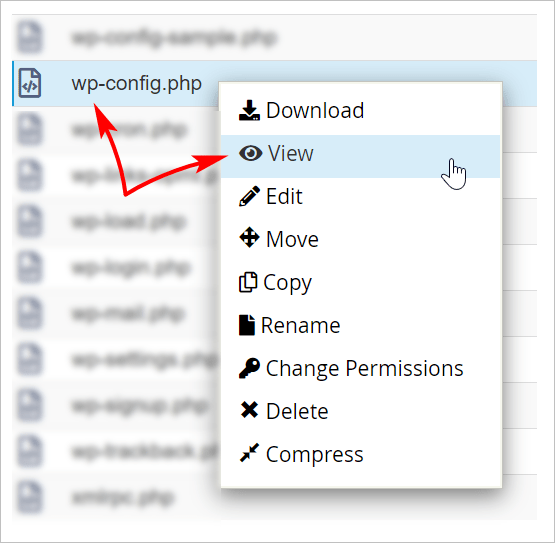
- Inspect the credentials for these four items and edit if required.
- Save the file and try connecting again.
What to do After Restoring your WordPress Site
You restored your site, and now you're determined never to do it again.
Good plan.
To reduce the chances of future failure and improve site security, do these four things right after a WordPress restore.
- Inspect the customer face of your site. Check the links. Inspect the layout. Check the menu, sidebar widgets, and headings if you used a child theme to add custom CSS.
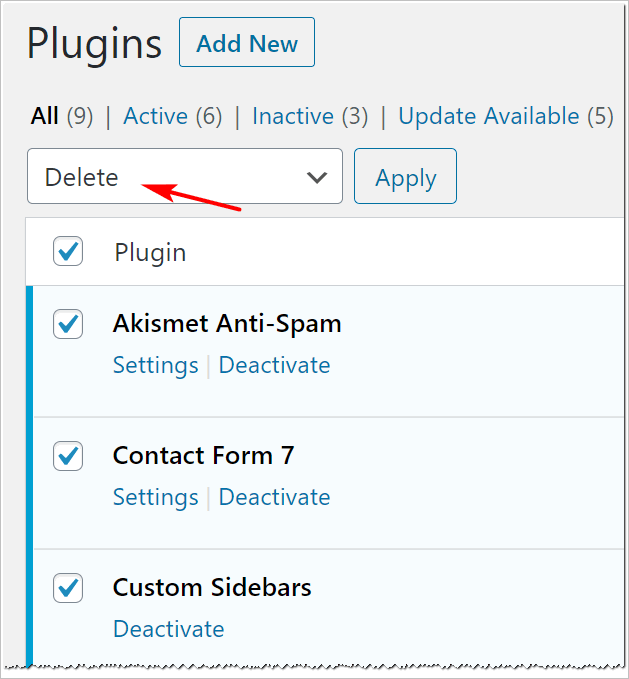
- If you're not sure why your site crashed and burned, suspect your plugins. Outdated or badly coded plugins give hackers backstage access to your site. That means you should delete and reinstall all plugins.
- Change the database password. Click the MYSQL Databases icon, locate the user you want to update, and then click Change Password.

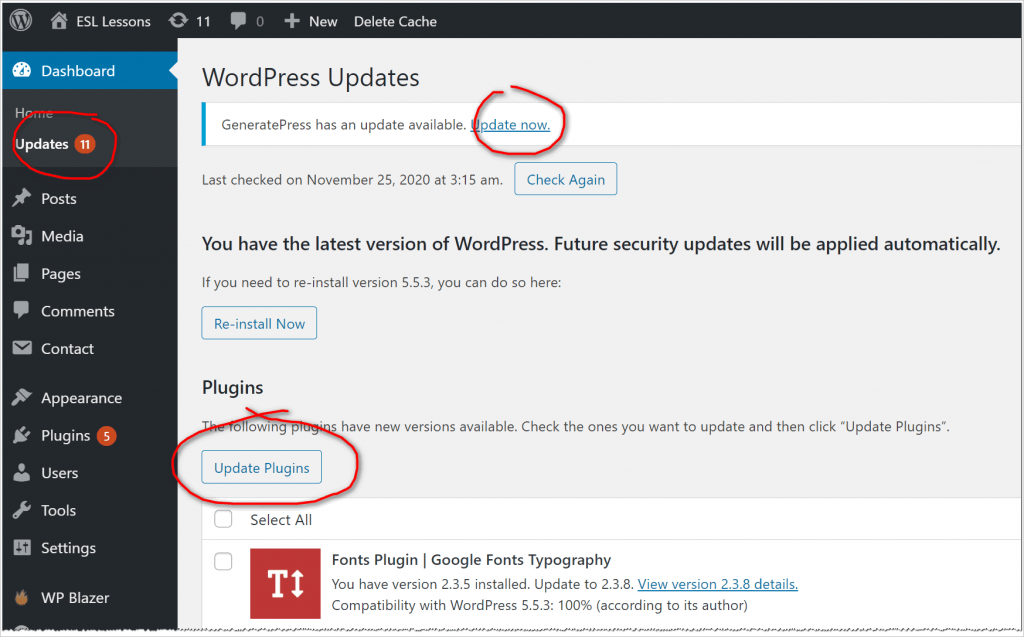
- Update everything. You can improve security and site functionality by updating themes, the WordPress core, and plugins.
Managing multiple sites
Running multiple sites? You must be busy.
Managing the entire backup process - from scheduling to keeping track of saved files on a cloud to restoring sites - might seem like a daunting time-management challenge.
Thankfully, there is a solution.
WPBlazer simplifies WordPress site restoration. The clone tool can restore multiple WordPress sites with the latest backup files.
Wrap Up
Bringing your WordPress site back to life doesn't need to be a painful experience. With a little preparation, you can create a backup system that is ready when you need it the most. If you run multiple sites, consider small investments in plugins that save time, improve site security, and give you peace of mind.