In this article, you'll learn how to install WordPress locally using a free web app called Bitnami. From start to finish, you'll need about 10 minutes to complete the installation.
Installing WordPress on a local computer - called a local installation - is an intriguing idea. For the right person, a local installation can provide some big benefits.
In the past, local installations were a bit complex. You had to fiddle with all the files that support WordPress. Today, it’s easy.
Table of Contents
- Why install WordPress locally?
- Downloading the Bitnami installer
- Installing the software
- Logging in to your local WordPress site
Why install WordPress locally?
If you are a budding website builder, theme designer, or plugin developer, you should learn how to install WordPress locally. When a fully functioning WordPress site sits on your computer - also known as a local server -- your content is not online. That means nobody can see it except for you.
And that’s the point.
Running WordPress on your computer gives you a stable testing and development environment. Sure, WordPress is a great content management system. It does sometimes crash, especially when there is a plugin conflict. If you're building themes, plugins, or add-ons, a local site lets you test products and not worry about disrupting a live site.
Another reason is security. If you are a designer or developer, you can run tests on your computer with maximum privacy. There’s no need to worry about hackers stealing your wonderful ideas, designs, or coding.
A third reason is convenience. If you are a digital nomad, you might travel to places without reliable wi-fi. In those situations, a local site on your laptop means you can go off the beaten path and stay productive.
Here's one more consideration: local sites are free. If you're teaching yourself how to write code, you don't need to pay for a domain name or hosting services.
All your hard work and experimentation on a local site won't be in vain. You can migrate a local WordPress site to a hosted platform. There are heaps of online resources that show you how to migrate sites manually or with a plugin.
What is Bitnami?
We show you how to install WordPress locally with Bitnami.
Bitnami is a free, lightweight app that creates a virtual WordPress site on your computer. Here's the cool thing - it takes care of all the details, so there's no need to mess around with PHP files or databases. Everything you need to install the latest version of WordPress is in one web application.
1 Downloading the Bitnami installer
The first step is to download the Bitnami installer.
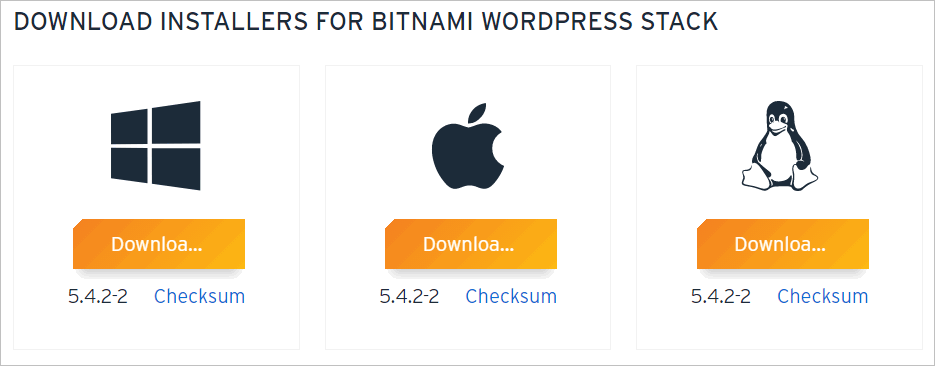
- Open a web browser and type this link into the search bar: bitnami.com/stack/wordpress/installer.
- Scroll down the Bitnami page and then select the installer for your computer’s OS. The choices are Windows, Apple, and Linux.
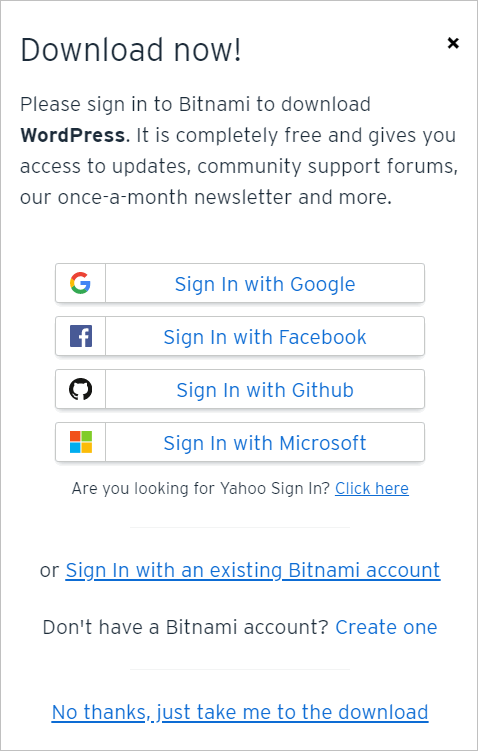
- The Download now! page encourages you to sign in, but that’s an unnecessary step. Scroll down and click the link at the bottom of the page.
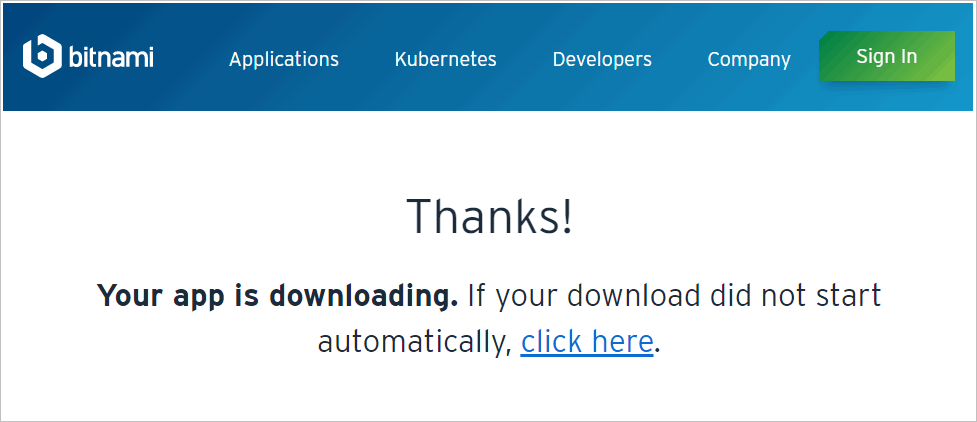
- While the Bitnami app downloads, the Thanks! page opens in a new browser tab.
2 Installing the software
The next step is to install WordPress.
- Once the Bitnami app download finishes, click the exe folder in the bottom corner of the screen.

- After the exe folder opens, select your preferred language on the drop-down menu and then click OK.
- On the Setup panel, click Next.
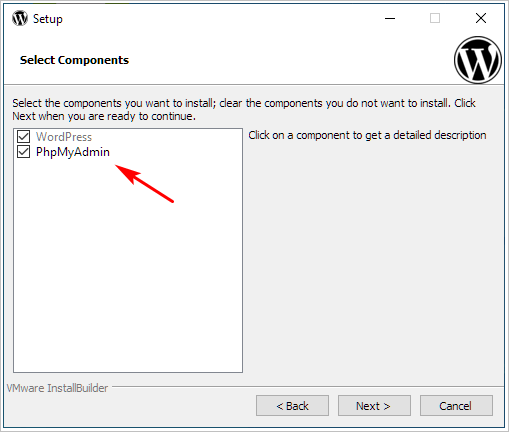
- On the Select Components panel, make sure you check WordPress and PhpMyAdmin and then click Next.
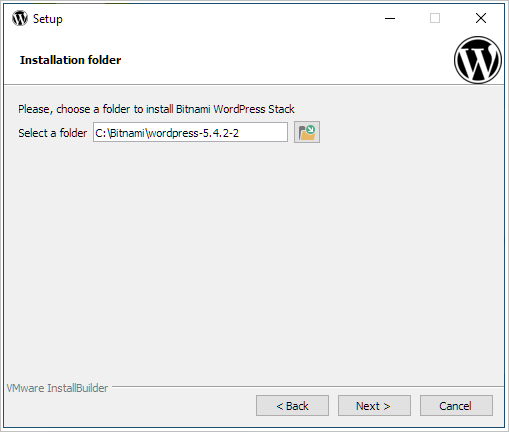
- Select a destination for the installation files. The Bitnami app creates a default folder on the C drive. You can create a new destination by clicking the folder icon.
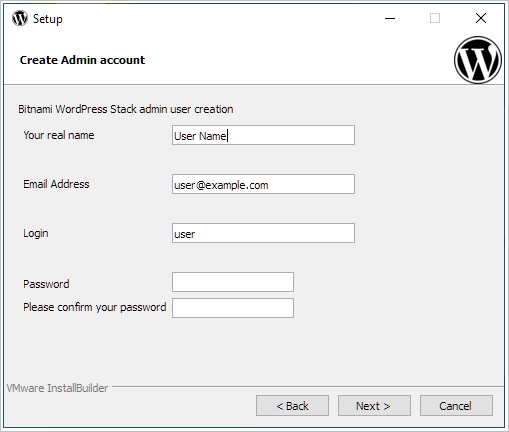
- Enter details on the Admin panel and then click Next. Make sure you save the email address and password - you need them later when you log in to the site.
- On the next panel, enter a name for your local WordPress website and then click Next. The name is not essential, and you can always change it later.
- The next panel lets you configure email support with a Gmail address or a custom email account. You can add that at a later date, so for now, leave the box unchecked and click Next.
- On the next panel, click Next to install the app.
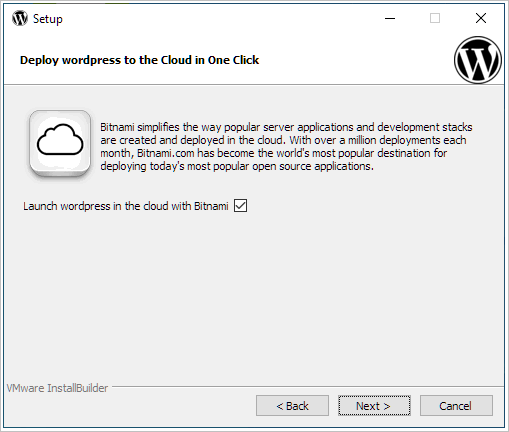
- The Bitnami site opens in a new browser tab. You can close that page. On the Ready to Install panel, click Next.
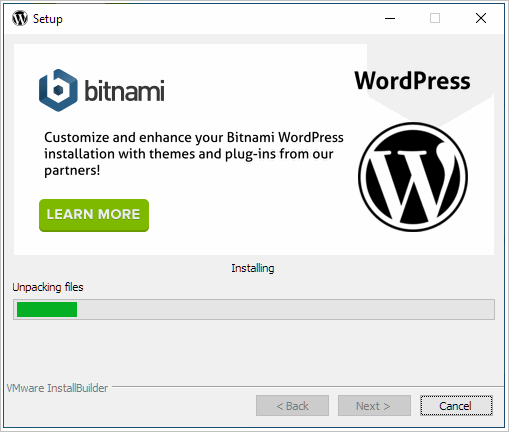
- The Setup panel opens and starts the installation, which takes a few minutes to complete.
- If you are running Bitnami on a PC, you might see one or two Windows Defender messages about mysql.exe and Apache. In both cases, click the Allow access buttons.

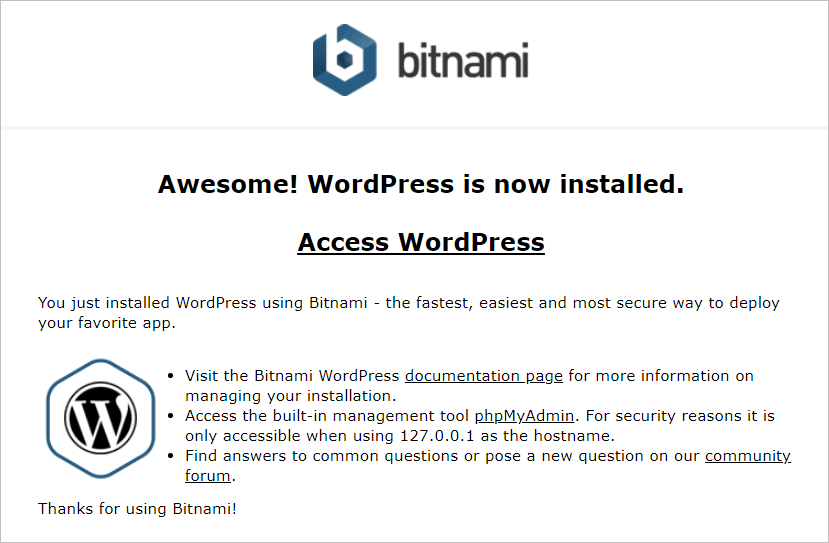
- When the installation completes, click the Finish button.
- Click the Access WordPress link in the new browser tab. Your local WordPress site is now working.
3 Opening your local site
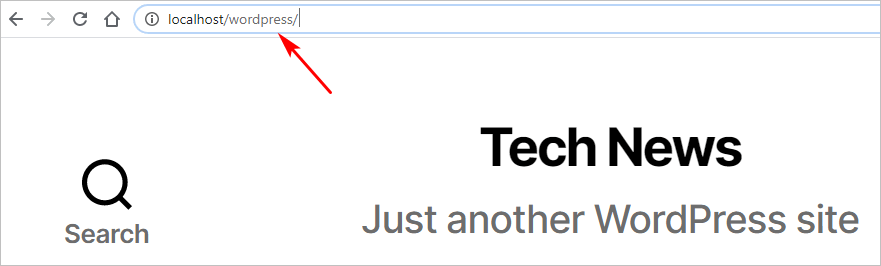
To view your local WordPress site, open a browser tab and type: localhost/wordpress in the search bar.
3.1 Logging in
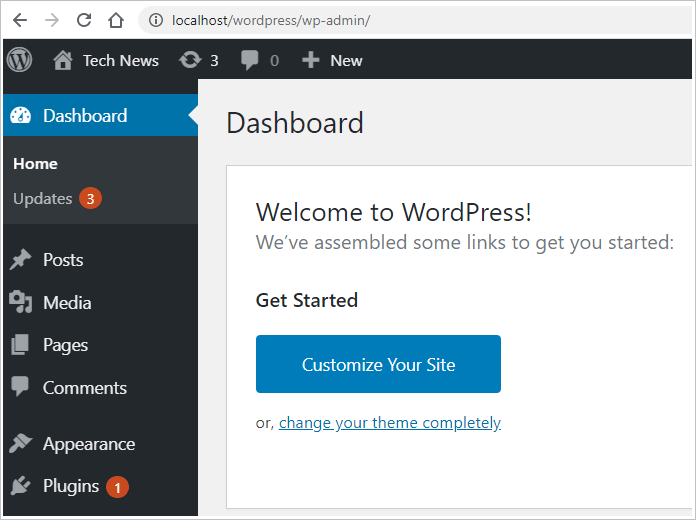
To login to your local site, type: localhost/wordpress/login in the search bar. Enter the email address and password that you saved while installing the Bitnami web app.

After you log in, the dashboard of your local WordPress site displays.
3.2 Setting up remote access
Here's a scenario. There's a local WordPress site on your desktop computer, and you've done some fantastic work. Now you have to go out of town for a few days. That means you can't access your local WordPress site, right?
Wrong.
Before leaving town, you can set up remote access to your local WordPress site with port forwarding. That means you can access the WordPress site on your desktop computer from anywhere in the world. Even better, you can access that site from the WPBlazer platform.
To open your local WordPress site from WPBlazer, you need to complete two steps. First, set the port forwarding port to 80 (the default). Second, locate the private IP of your local WordPress site and add it to the WPBlazer platform.
There are several approaches to port forwarding. You could, for instance, buy a plugin such as Port Forward Network Utilities.
You can also find detailed instructions online that show you how to set up remote access.