If you want your website to convert, you need it to communicate effectively with its visitors. You want it to stand out and grab their attention. And the better the experience, the higher the chance that your audience takes action when you ask them to. One of the ways to improve that experience is to add icons to your website. And the best way to do that is to use one of WordPress icon fonts.
Table of Contents:
1. What Are WordPress Icon Fonts?
2. Why Use WordPress Icon Font on Your Website?
3. Popular Icon Fonts
4. Font Awesome
5. Material Icon Font by Google
6. Linearicons
7. How to Implement WordPress Icon Fonts on Your Website?
8. Using WordPress’ Dashicons on Your Website
9. Styling Dashicons WordPress Icon Font
10. Adding Font Awesome to Your Website
11. Adding Font Awesome to Your Website Manually
12. Self-Hosting Font Awesome
13. Using Font Awesome on Your Website
14. Using a Plugin to Add Font Awesome to Your Website
15. WordPress Icon Fonts – What to Look Out For?
16. Accessibility Issues
17. Having to Rely on an External Service
18. Website Slow Loading Time/Server Bandwidth Issues
19. Improve Your User Experience with WordPress Icon Fonts Today
What Are WordPress Icon Fonts?
Imagine letters… but different. WordPress icon font is a font that uses certain symbols instead of letters. They’re used either instead of certain words or to accompany them, to help grab people's attention. And there's barely any limit as to what icons you can use - or what you can communicate with them.
A WordPress icon can be a cogwheel used instead of a settings button or a credit card as a substitute for checkout. A great example of a WordPress icon font in use is WP main menu:

These icons use the official WordPress icon font called Dashicons. It includes over 300 icons, split into categories such as Media, Widgets, Social, and many more. It's free to use and, up until recently, its creators accepted requests for new icons. However, in 2020, they announced they're working on a new icon component. Of course, Dashicons is not the only popular WordPress icon font. We'll get to that in a second. But, first, let's look at all the reasons why you would want to use icons on your website in the first place.
Why Use WordPress Icon Font on Your Website?
A WordPress icon, while small, can make a big difference to your website. Icons, if used correctly, may:
Improve User Experience
Adding icons to your WordPress website helps enhance the user experience. Because they stand out from the text, they help point users to important links or sections of the site. Similarly, they can be used to illustrate the steps in a buyer’s journey. For example, they can point users to payments (credit card icon) or checkout (shopping cart).
They Boost Conversion Rate
Because they are eye-catching, they help encourage your audience to take action. Adding icons to buttons increases their click-through rate, leading to more sales. Plus, because they improve navigation, they make people stick around longer (on average).
They can improve your branding
WordPress icon font helps your website stand out. Good use of icons makes your website look much clearer and more professional. Keep in mind that a high-quality design is one of the critical trust factors online. As a result, the use of icons can help your brand build trust and connect with your audience.
Popular Icon Fonts
Apart from Dashicons, the most popular (and easy to add to your site) WordPress icon fonts include:
Font Awesome
Today, font awesome is the most popular icon set out there. It wasn't designed specifically for WordPress. But, its popularity among WordPress users prompted developers to release an official plugin. By using it, you can use both free and paid font Awesome icons on your website with no coding.
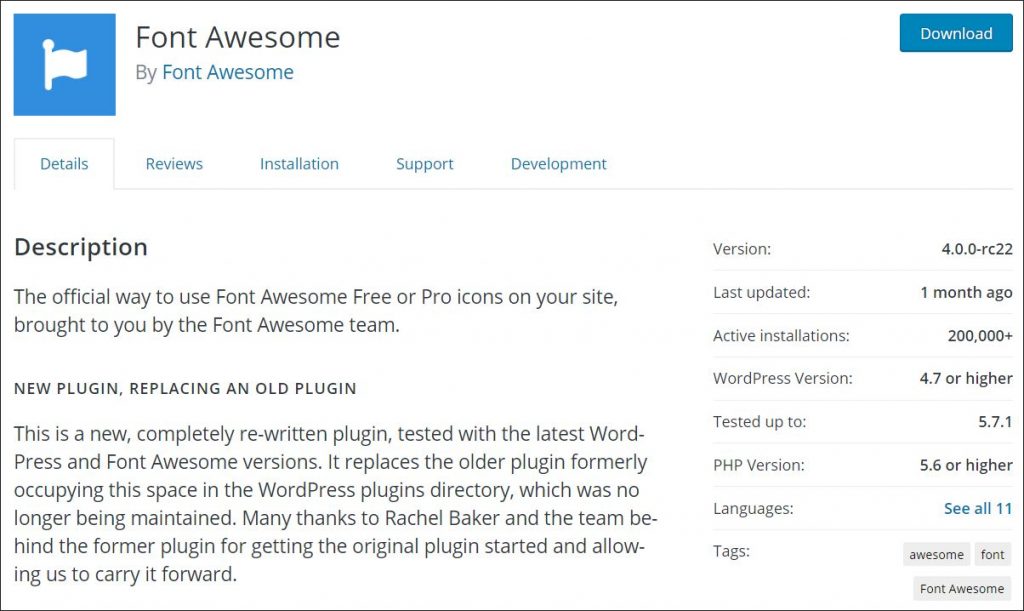
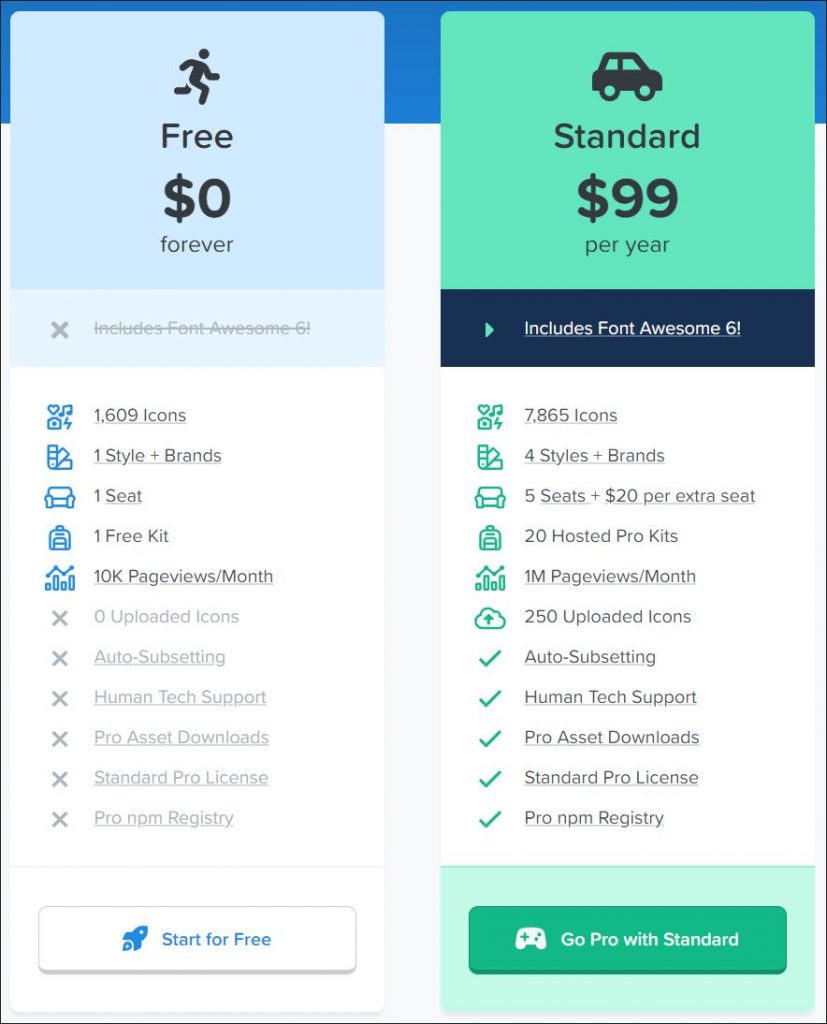
And, there's plenty of icons that you could take advantage of to beautify your website. As of the writing of this post, the free font offers 1,609 icons, while the pro version, boasts a staggering 7,865 of them! Access to pro icons costs $99/year and but comes with plenty of other perks:
Material Icon Font by Google
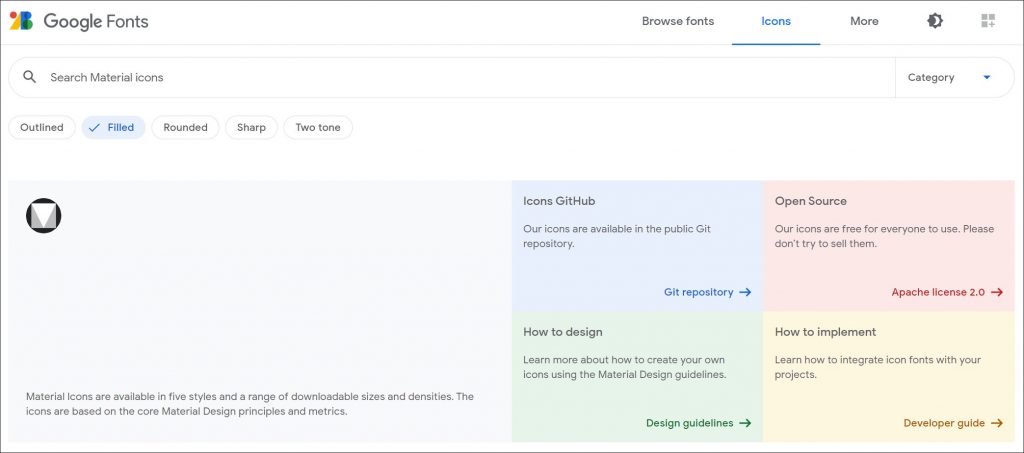
Another huge icons repository, with over 6000 icons (as of May 2021) is the Material Icons font by Google. The icons are available both as a font, as well as individually SVG or PNG files.
Thanks to Apache License Version 2.0, they can be reused on any commercial or non-commercial website or app, with or without attribution.
Linearicons
The next font offers over 1000 (1001 to be exact) ultra-crisp line icons. Their carefully hand-crafted design stands out when compared with other WordPress icon sets. And, considering they allow you to cover a range of topics, they're a really great choice for any modern-looking website or online app.
The only drawback is that the free package offers just 170 icons. However, the premium package is well worth the price. At just $59 (one-off), you can modify the icons and reuse them in as many projects as you want.

How to implement WordPress icon fonts on your website?
There are three ways in which you can add WordPress font icons to your website. You can:
- Add WordPress icon font to your website manually
- Use a plugin that can do it for you
- Take advantage of a theme or page builder that comes with WordPress icon font.
Please note that when it comes to using page builders or themes, they usually do the work for you. In fact, some of them come with their proprietary WordPress icon fonts.
For example, Elegant Theme's Divi comes with Elegant Icon Font. You can easily use it when editing certain elements - no coding required:
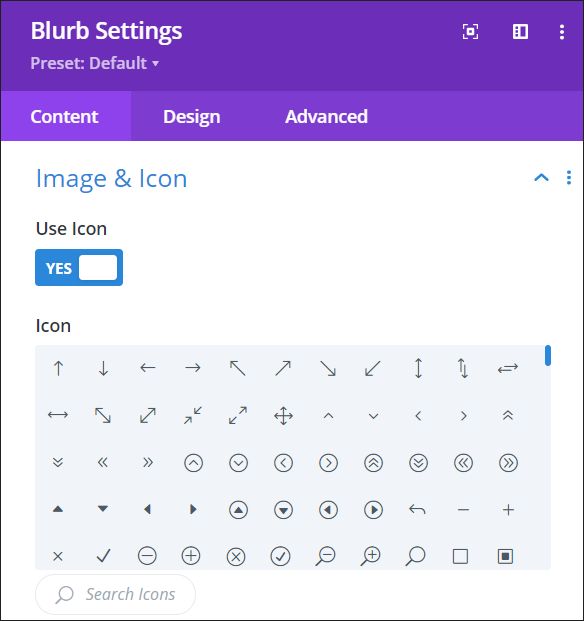
Of course, please refer to the instructions of the particular WordPress page builder or theme that you're using. In this article, we'll not be exploring any themes or page builders.
Instead, we'll focus on the two popular WordPress icon fonts - Dashicons and Font Awesome.
Using WordPress' Dashicons on your website
As mentioned earlier, Dashicons are already included in WordPress. Still, you need to add a short code snippet to your website to ensure they load properly. To do that, go to Appearance > Themes > Editor and add the following to the functions.php file:
add_action( 'wp_enqueue_scripts', 'load_dashicons_front_end' );
function load_dashicons_front_end() {
wp_enqueue_style( 'dashicons' );
}
In some themes, you may be able to add that snippet right in the theme settings panel. Look around to see what'll be the most convenient way to do that for you.
For safety reasons, we always recommend using a child theme. You can easily create one with a plugin like Child Theme Configurator.
And, if you want even more security, use WP Blazer to create a backup of your website. You can also clone your website and create a staging environment where you'll perform all technical tests on your website.
Once you enqueue the font, it's time to load the font. To do that, all you need is to link to it using a short piece of HTML code.
Let's say that you want to add a location icon. To do that, pick the desired WordPress icon from the Dashicons list and click Copy HTML.
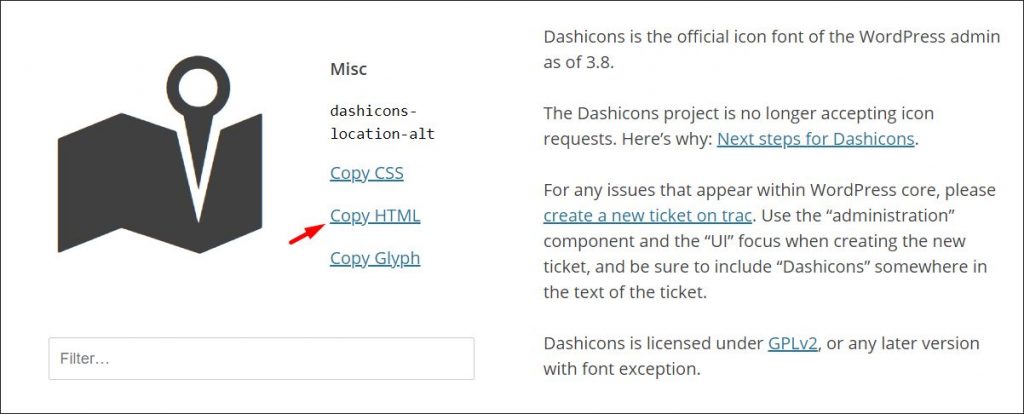
You'll get the following code:
Next, all you need to do is insert that code where you want the icon to appear on your website.
Styling Dashicons WordPress Icon Font
One of the great things about WordPress icon fonts is that you can style each icon to suit your website's design. Sticking to the same icon as before, go to the icons page, and click Copy CSS:
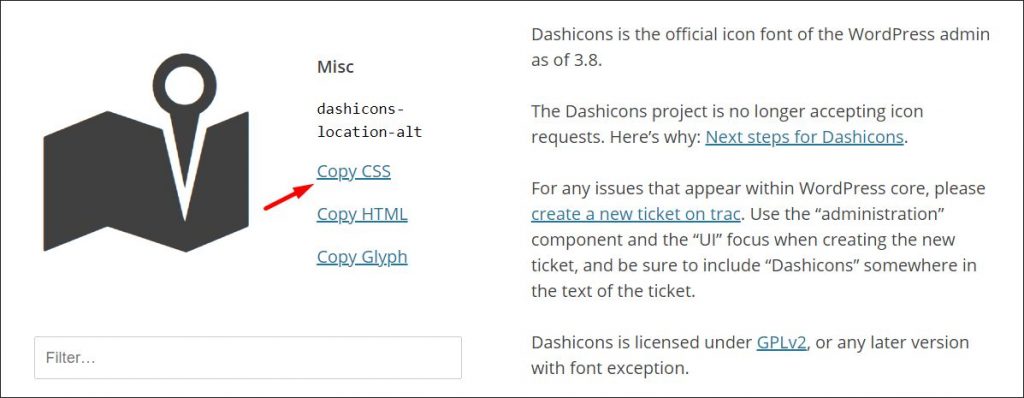
Here's the code that we've got:
content: "\f231";Please note that, for the CSS code, we'll need to use the before selector. Here's how the code would look like if we wanted to make our icon orange and changed its size to 30px:
.dashicons-admin-plugins:before {
content: "\f231";
color: #FFA500;
font-size: 30px
;
}
Adding Font Awesome to Your Website
Dashicons is a great built-in "WordPress icon starter pack." But the problem with it is that most of its icons fit only the backend. Sadly, there's little choice of icons that could be used on a website. Especially if you think about eCommerce or business sites. But, that's where Font Awesome comes in, with its big free (and a huge paid) icon repository. Because it's not a built-in WordPress icon font, you'll need to do a bit more work to add it to your website. Here's how to do that manually.
Adding Font Awesome to Your Website Manually
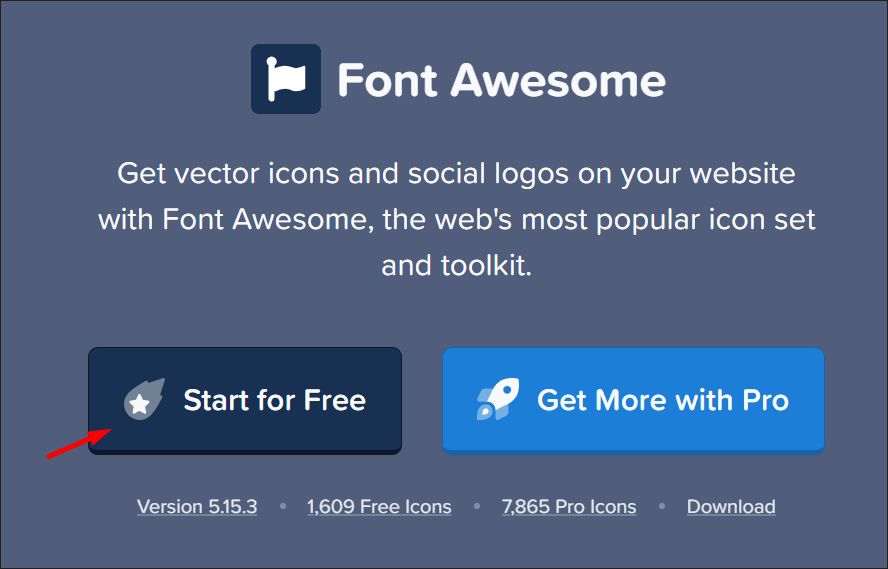
The most basic way to add a WordPress icon font to your website (or any external font) is to link to it right in your theme. Because the font is not part of the WordPress environment, we need to create an account to be able to use it. To do that, go to Font Awesome website and click the Start for Free button:
Next, enter your email address and hit Send Kit Code:

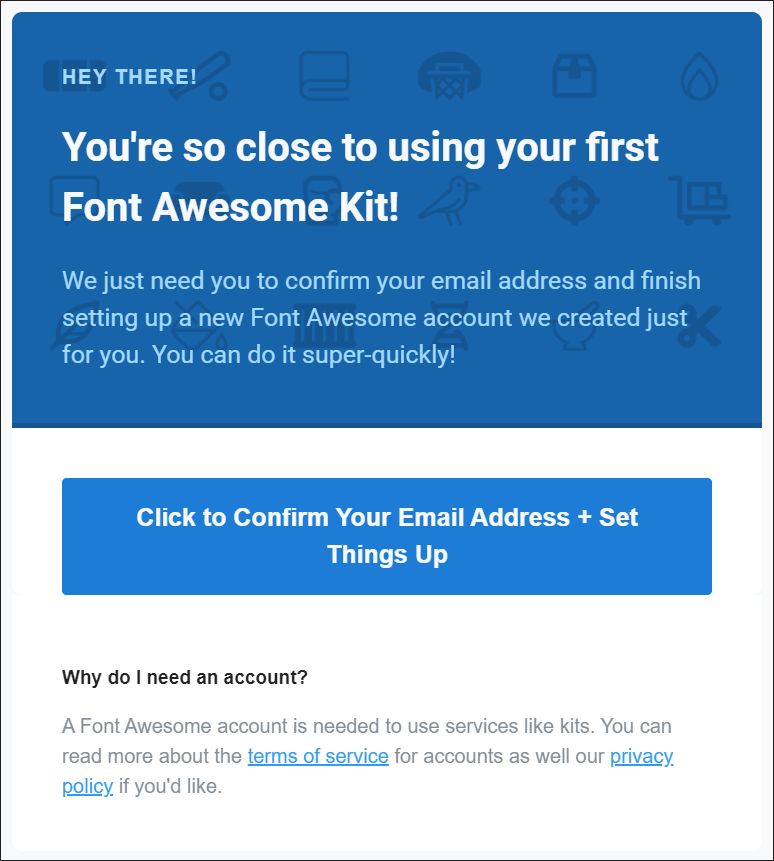
After that, check your inbox and confirm your email address:
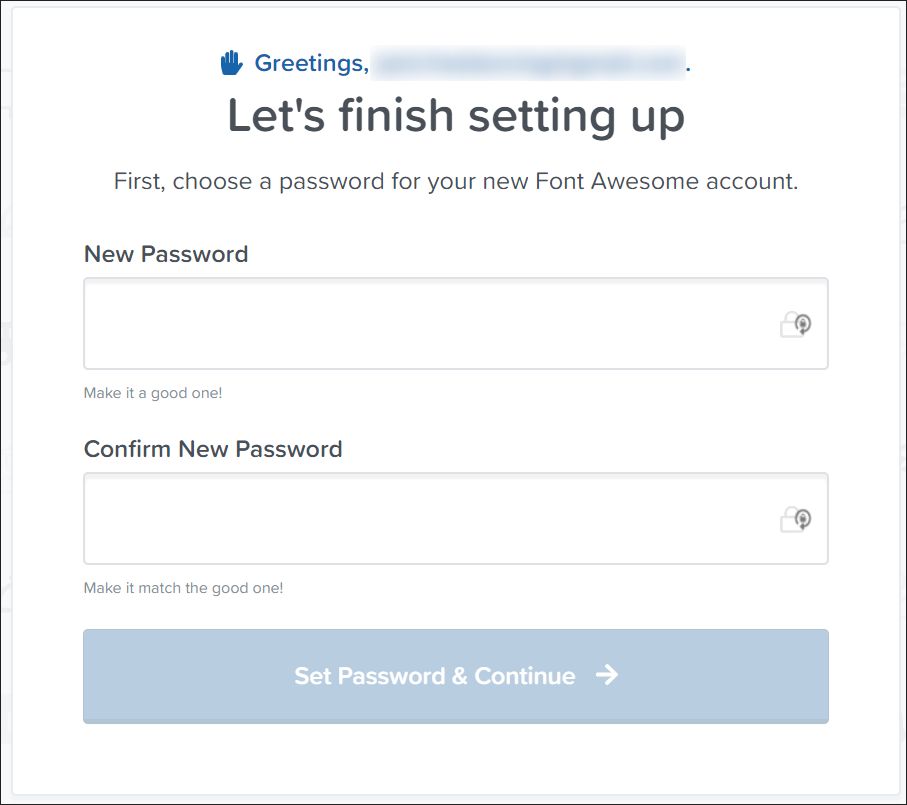
And set up a password for your new Font Awesome account:
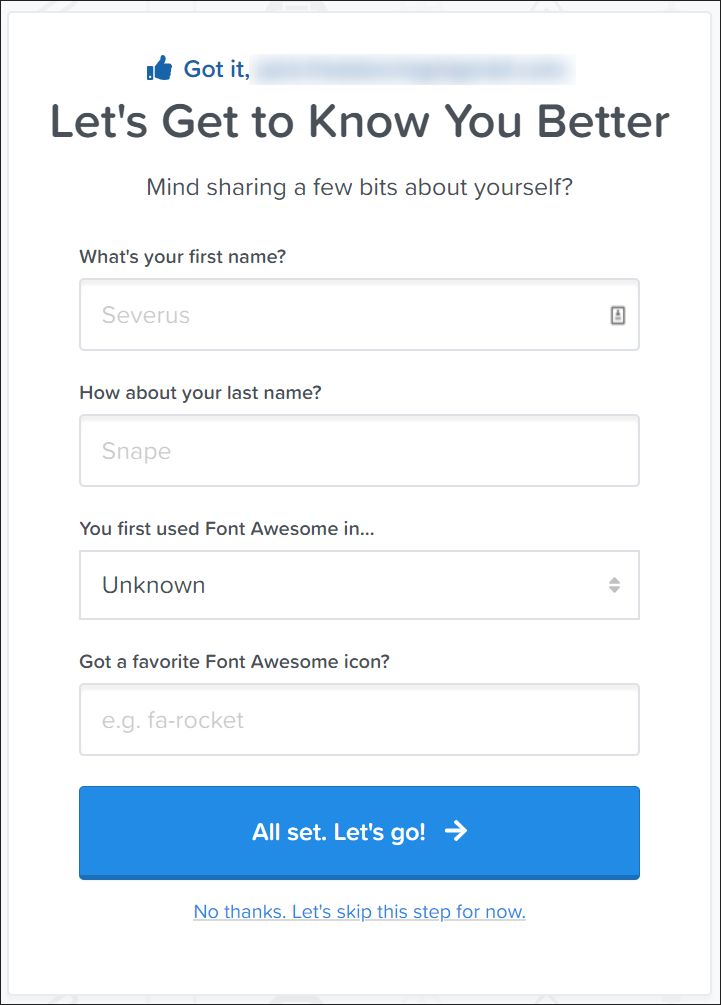
Lastly, you'll be asked to provide your name and answer a few questions - but, you are free to skip this step:
Once you get redirected to the dashboard, you'll be given your unique Font Awesome code:

Now, there are two ways you can add the code to your website.
The first one is to edit your theme's header.php file. To do that, you need to go to Appearance > Theme Editor > header.php. Then, you want to paste it right before the tag.
And what if you'd like to use a different font? Usually, they follow a similar pattern. For example, to use Google Material Design Icons Font, add the following code to header.php, before the tag:
Please note that certain themes allow you to add code to the header right in theme settings. You can also use special plugins that allow you to insert header/footer code, such as Head, Footer and Post Injections.
The problem with adding the font that way is that WordPress is a complicated beast. As a result, the script may lead to conflicts with certain plugins. A better alternative is to enqueue Font Awesome Stylesheet in your theme. To do that, insert the following code to your functions.php file (same as in the Dashicons example). You can find the file in Appearance > Themes > Editor.
add_action( 'wp_enqueue_scripts', 'enqueue_load_fa' );
function enqueue_load_fa() {
wp_enqueue_style( 'load-fa', 'ENTER YOUR FONT AWESOME LINK' );
}
Self-Hosting Font Awesome
Alternatively, you can also choose to self-host the font. This can speed up its loading and give you more control over its availability.
First, we need to download the font - log back into your panel and scroll down to Other Ways to Use. There, select Download:

Then, you want to download the .zip file:

Once you get the file, you want to unzip the archive and upload the files to your WordPress server. To get FTP access to your website, you can use a tool like FileZilla. If you don't know how to access your server FTP, reach out to your hosting company support.
Once you log in, you want to go to your WordPress theme's directory and create (or find) a folder named "fonts". Put the files in there.
Now, the last thing left is to enqueue it. The process is similar to enqueueing it from the web. The only difference is, you'll now be pointing to the fonts folder. Add the following to your theme's (or child theme's) function.php file:
function wpb_load_fa() {
wp_enqueue_style( 'wpb-fa', get_stylesheet_directory_uri() . '/fonts/css/font-awesome.min.css' );
}
add_action( 'wp_enqueue_scripts', 'wpb_load_fa' );
Once that's added, you're free to pick your favorite Font Awesome WordPress icon. You'll see how to add it to your website in a second.
And what about Google Material Design Icons Font? Google shares all the necessary CSS rules to self-host the font on their Github account. Unfortunately, not all the icons are available for self-hosting.
Naturally, nothing is stopping you from looking at what they allow you to download and self-hosting those that are available.
Using Font Awesome on Your Website
Once you enqueue the font, you can start using the icons. The process is again similar to the one we've used to work with Dashicons WordPress icon font. All you need is a short piece of HTML code.
Let's say that you want to add a shopping cart to your website. In this case, you want to add the following:
The code will differ depending on the icon that you choose and its style. If you decide to go with a pro version of Font Awesome, you get access to many new icons, and different styles of the same type of icon.
Of course, you can still style the icons using CSS. Here's sample CSS you'll need to style the shopping cart icon. That's if you wanted to make it red, and adjust its size to 70px:
.fa-NAME {
color: #FF0000;
font-size: 70px
;
}
Using a Plugin to Add Font Awesome to Your Website
The problem with enqueuing a WordPress icon font is that it requires you to add code to your site's core files.
Thankfully, as mentioned earlier, there's a plugin that'll do the work for you! To start using it, install it just like any other plugin. If you need help, this section of our WordPress plugins article will show you how to do that.
Once that's done, all you need to do is add the following shortcode anywhere you want the icon to appear. For example, let's say you want a shopping cart icon. In this case, the shortcode you need to use will be:
[icon name="shopping-cart"]And that's it! If you add the icon to the paragraph block, you can then edit its size using WordPress text settings. One extra tip. If you want more control over Font Awesome icons, try the unofficial (but popular) Better Font Awesome Plugin.
WordPress Icon Fonts - What to Look Out For?
Unfortunately, while a WordPress icon font can boost your site's user experience, it's not a flawless solution. In the following section, we review a few things that you need to be aware of. Thankfully, all these issues are quite easy to prevent.
Accessibility Issues
Remember that WordPress icon fonts are not "made up of" standard text. As a result, you can't expect they'll be recognized by screen readers (and, often, they're not). And it's only half the problem if the reader knows how to omit them.
However, sometimes the reader will read the Unicode, affecting the user experience. Luckily, it's very easy to "tell" the screen reader to omit the icon. All you need to do is add the following piece of code to its HTML code.
aria-hidden="true"So, for a Font Awesome shopping cart that we added in one of the previous examples, the code would now look like this:
Having to Rely on an External Service
When you link to a font that's hosted on another server, you give away part of control over how your website looks like.
For example, should the external server go down, the font will fail to load - and your site visitors won't see the icons. Thankfully, there's an easy way to prevent this that we've already discussed in this article - self-host the icons. Especially that, self-hosting a WordPress icon font helps prevent one other issue.
Website Slow Loading Time/Server Bandwidth Issues
Keep in mind though that a full WordPress icon font file can slow down your site even if it's loaded from your server. Not to mention that, if you're getting thousands of hits per day, it could eat up your bandwidth quickly.
The solution to this is to extract only the icons you need. You can do that using a free tool like Iconogram. Once you extract them, upload a file that includes only the ones you use on your site. After all, you aren't going to use 500 icons, are you?
Improve Your User Experience with WordPress Icon Fonts Today
As you could see, adding WordPress icon font to your site is pretty straightforward. And, if you choose the plugin route, you don't need to add a single line of code!
Plus, if want to easily add a WordPress icon font or theme to multiple websites, you can do that by using WP Blazer's Theme & Plugin Management feature. It allows you to add, manage, and update plugins on many WordPress websites with just a few clicks! All that using one convenient dashboard. Check out how it works (and its other features) here.
